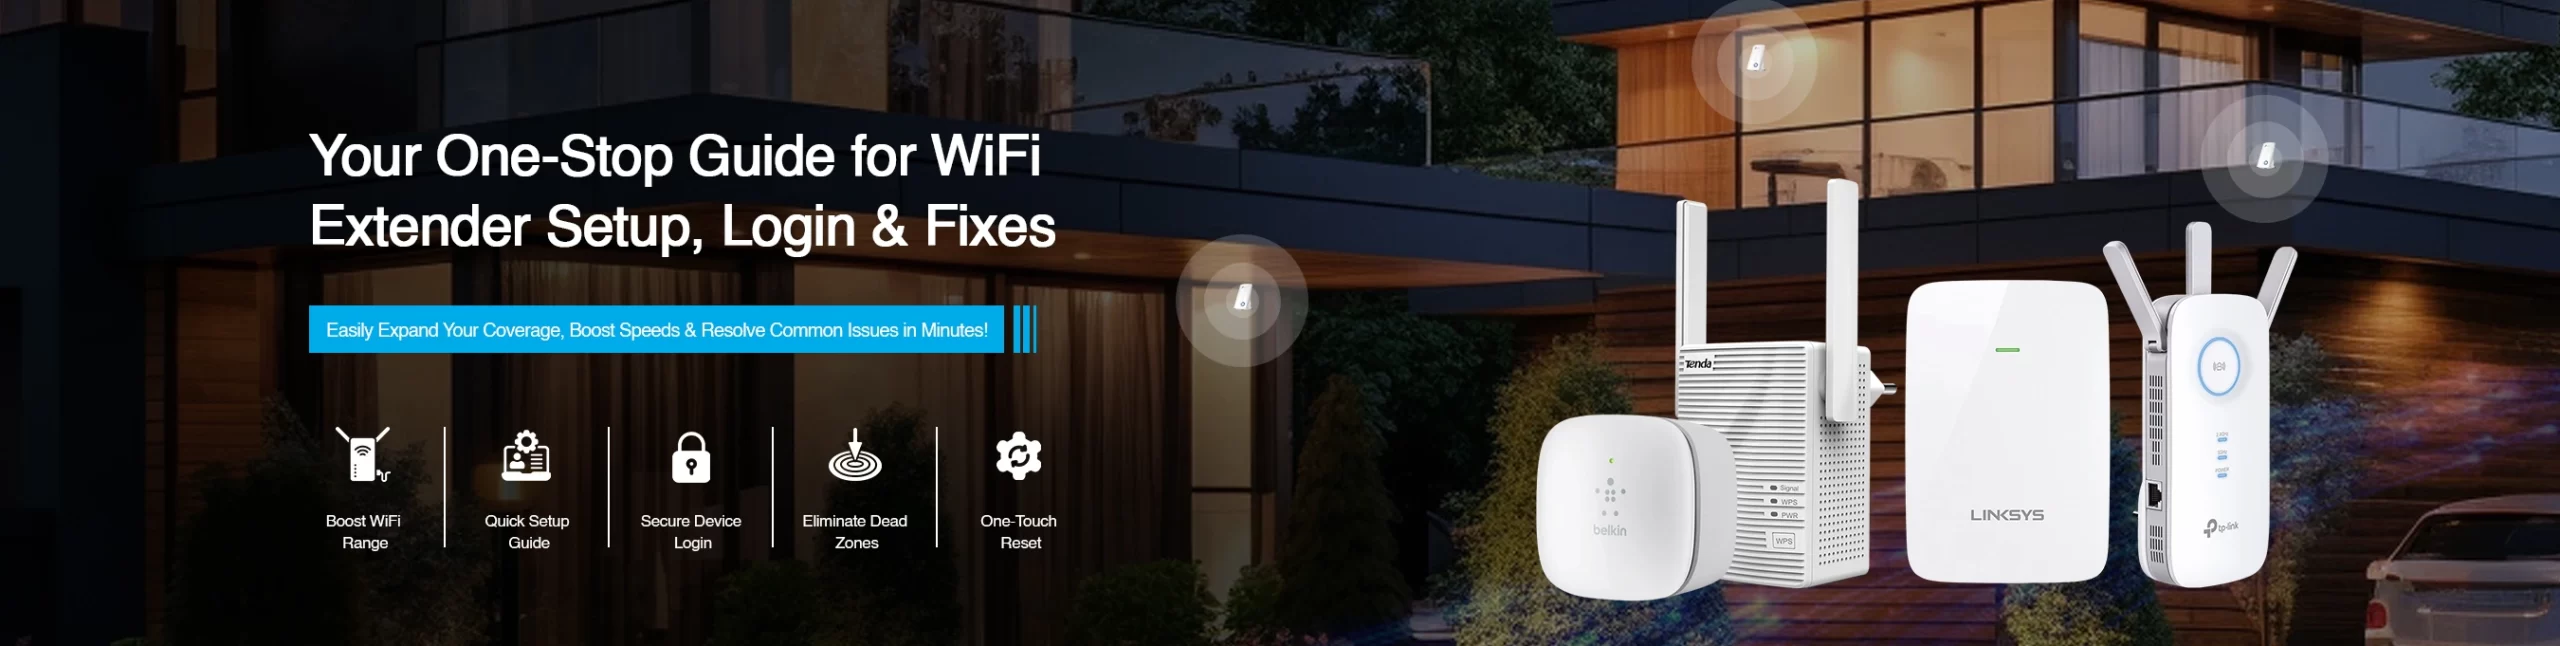
Boost Coverage Instantly – Follow Our AP Setup Guide
If you are searching for how to extend the wifi network throughout your home/office, the AP setup is the gateway to make it practical. An access point (AP) is responsible for connecting multiple devices to your existing network smoothly. This ensures a stronger & stable wifi signal plus fast data transfer. Here you will get in detailed explanation of the AP setup process for all major brands. Let’s get started.
What Is An Access Point (AP)?
An access point is a networking device that works as a bridge between the router and devices connected to the internet of your premises. In simple terms, AP helps you to extend the wifi signal in a wider area. Moreover, after a successful setup, you will get a reliable internet connection without any signal drop.
Why AP Setup Is Important?
Once you complete the Access Point setup, the dead zones will be eliminated, which also enhances the 2.4 GHz and 5 GHz frequency bands. Furthermore, you can connect multiple devices at the same time and enjoy the internet on all devices without lag. Additionally, it also ensures uninterrupted video calls, gaming, and streaming etc.

Essentials Before Setup
To complete the AP setup, you must have gathered the following essentials for hassle hassle-free process:
- Firstly, a Router with internet access.
- Therefore, a Compatible device (smartphone, laptop, or computer).
- Most importantly, the AP device
- Next, Web / IP address
- Then, the Administrator username and password
- Lastly, Power cords and Ethernet cable
Step-by-Step Instructions for AP Setup
In this section, quick and easy steps to configure your access point. The process applies to all models, including TP-Link AP setup, Ubiquiti AP setup, Cisco AP setup, Netgear AP setup, Aruba AP setup, and Wavlink devices.

Power on the Access Point
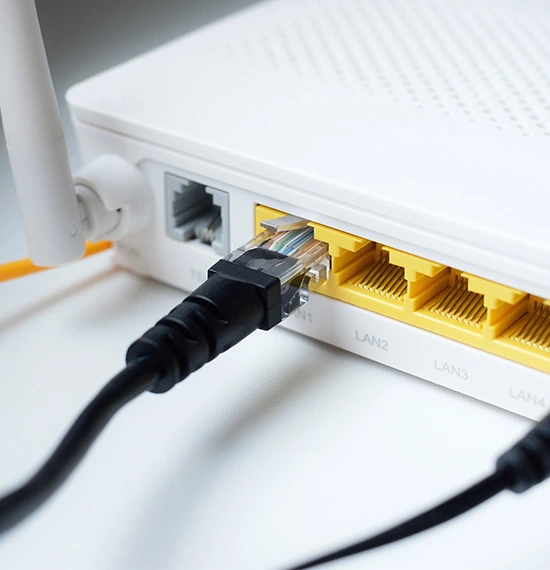
Firstly, plug the AP (access point) into the power outlet and let the LED indicator stabilize. Therefore, connect your AP to the router using the Ethernet cable.

Connect The Device
Now, connect your device to the AP network. Then, make sure the Wi-Fi signal is stable.

Setup Page
Hence, launch the web browser and navigate to the http //ap.setup in the address bar. Afterwards, enter the correct username and password to get in. Finally, you will land on the administrator dashboard.

Choose operation mode
After that, choose the access point mode to access your existing wifi network. Alternatively, you can also select other options like repeater mode or router mode as per your needs.

Configure Wireless Network
Next, set the network name and create a strong password. Also, choose an appropriate frequency band and save changes.

Apply Changes and Reboot
Lastly, save changes and reboot the AP. Once done, try to connect your device to the wifi network and enjoy web surfing.
Different Brands AP Setup - Quick Overlook
The AP setup method is mostly similar across all major networking brands. Hence, here’s the quick table to set up the different brands’ access points:
Brand
Set up URL / IP Address
Supported Modes
TP-Link (tp link ap setup)
http://tplinkap.net
AP / Repeater / Router
Ubiquiti (UniFi)
https://unifi.ui.com
AP / Bridge
Cisco
https://id.cisco.com/
AP / Bridge
Netgear
192.168.0.1
AP / Repeater
Wavlink
192.168.10.1
AP / Repeater
Meraki
https://dashboard.meraki.com
AP / Cloud
Comfast
http://ap.setup/ or 192.168.10.1
AP / Repeater
UniFi AC Lite
http://unifi.ui.com
AP / Bridge
Helpful Tips for Better Results
To perform the AP setup, it is important to follow some practical tips that ensure peak performance and stability. With these in mind, here are some pro tips that significantly improve the wi-fi coverage and keep the network running.
- Always choose the central point of the location to position the AP (Access Point). In addition, remove any electronic interface in between. This practice helps signal to travel easily in the home/ office.
- Ensure that the firmware is updated frequently. By updating regularly, it improves the overall performance of the device.
- Also, change the default login credentials during the setup, and use a strong password. Moreover, this avoids unauthorised access to the network.
- Most of the APs support dual frequency bands,
- Lastly, power cycle the AP to clear the minor glitches and to refresh the internet connection.
Troubleshooting Common Issues During AP Setup
Sometimes, during the setup user may face issues like being unable to access the setup page, incorrect login credentials. In addition, slow internet and unstable internet connection, or the AP not detecting the router, etc. Along with this, here are the troubleshooting steps for the common issue raised during the setup:
- First, if AP’s setup page is not accessible, check the connection between the AP and the computer /device.
- Additionally, consider clearing the cache and cookies of the browser, and you can try another browser.
- Also, make sure the AP is connected properly to the router and near it too. Sometimes, repositioning of the AP and the router helps in improving the coverage range.
- Importantly, ensure you enter the correct username name password during login.
- If AP is not detecting the router, then check that both are connected properly.
- In fact, you can restart the AP and router, and if the issue persists, you can factory reset the AP.
However, if you are still facing any issues, feel free to contact our expert.
Sum Up
In summary, an AP setup is the most reliable method to extend the wifi range across your premises. You mastered the setup process, and the AP setup procedure above is similar for all brands. Even though, by following the steps above, you can configure the AP in a few seconds. Moreover, you can troubleshoot any errors during the setup.
FAQ’s (Frequently Asked Questions)
Q1. Is the AP setup process the same for all brands?
Yes, the steps are nearly identical for TP Link AP setup, Ubiquiti AP setup, Cisco AP setup, and others.
Q2. What if I can’t reach the setup page?
Firstly, check your connection, clear your browser cache, and then retry after power cycling your AP.
Q3. Can I use my AP as a repeater?
For this reason, yes, enable the AP repeater setup mode to extend signals from your main router.
Q4. What should I do after completing the setup?
Mostly, start by reconnecting your devices, testing signal strength, and enjoying smooth Wi-Fi coverage.
Q5. How often should I update my AP?
Check for firmware updates every few months to ensure better performance.
Q6. Can I configure the setup from my phone?
In contrast, yes, you can use your phone’s browser or brand app to complete the AP setup process easily.