Navigating through the Ueevii Setup process- Detailed Steps
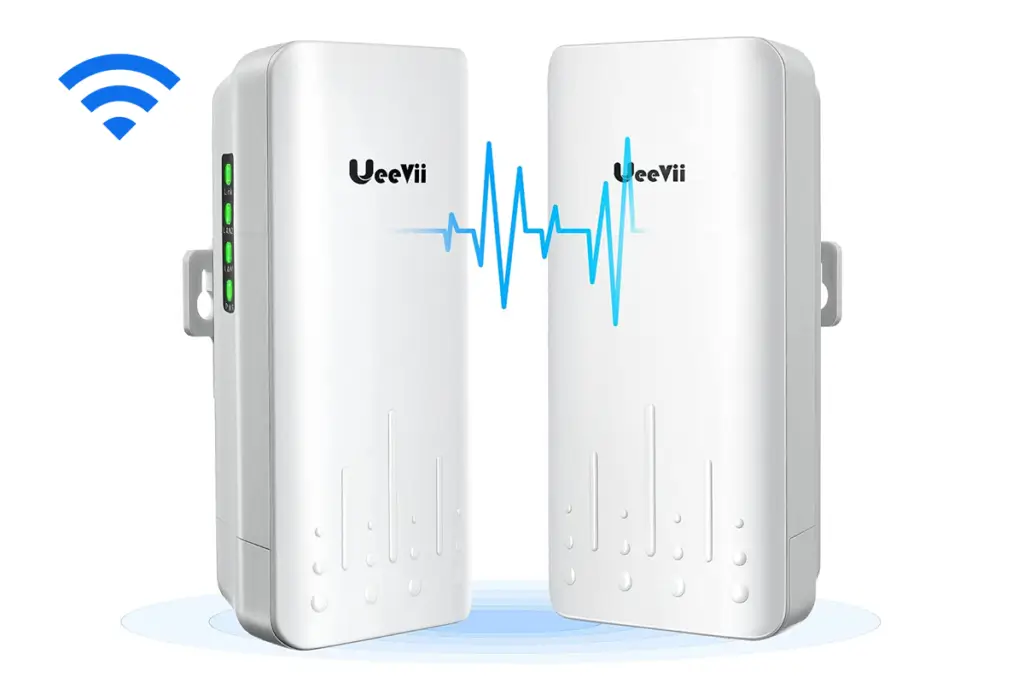
Devices like routers, extenders, and CPEs have long been used to increase network coverage and get access to the internet. If you have a Ueevii CPE device recently purchased, learning how to access the setup wizard for the Ueevii setup process becomes essential.
While there may be lots of online guides available, selecting the best one can be challenging. This page will cater to your curiosity about the Ueevii CPE450 Setup process and also suggest some methods to resolve issues that may be prevalent with your CPE device.
This page will consider the Ueevii CPE450 setup to illustrate the configuration process. For details related to the Ueevii 240 setup and more, you can also follow a similar approach.
How to begin with the Ueevii CPE450 Setup process?
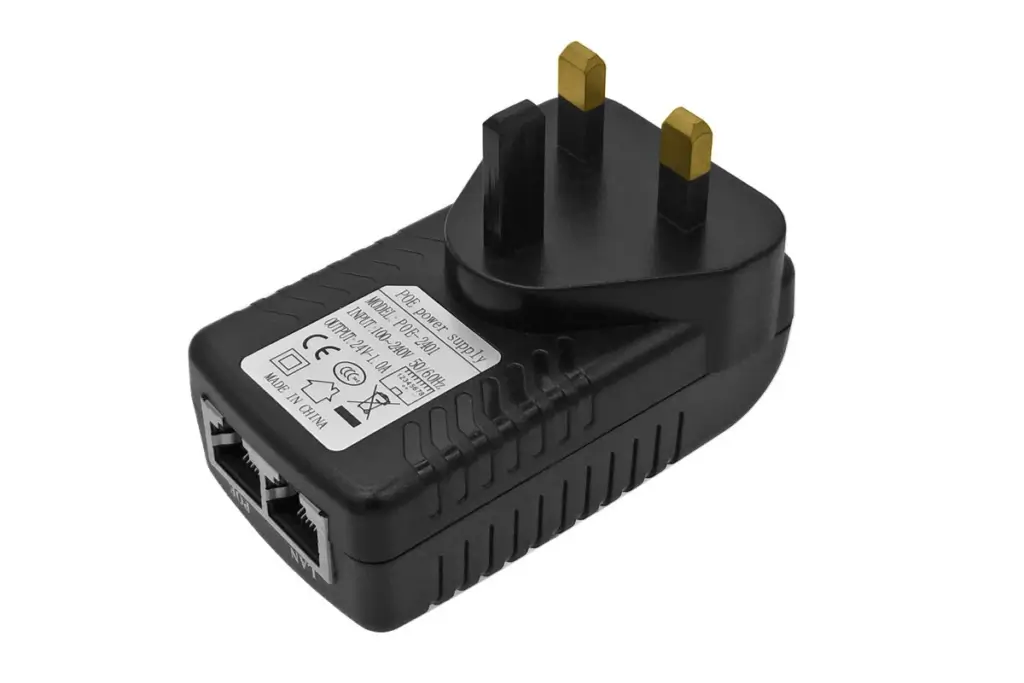
Important: The CPE450 device is powered using a PoE adapter using a network cable and won’t require an external power supply. Therefore, ensure that your PoE connection is of the required configuration.
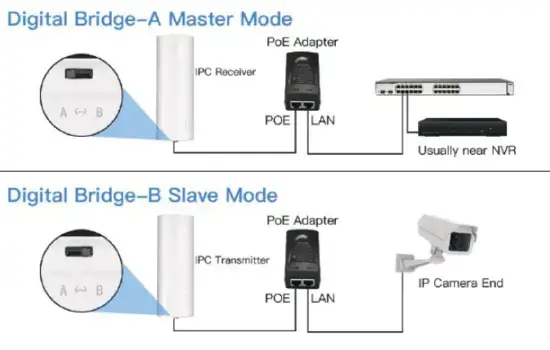
Setting up the Digital Display to Wireless Bridge
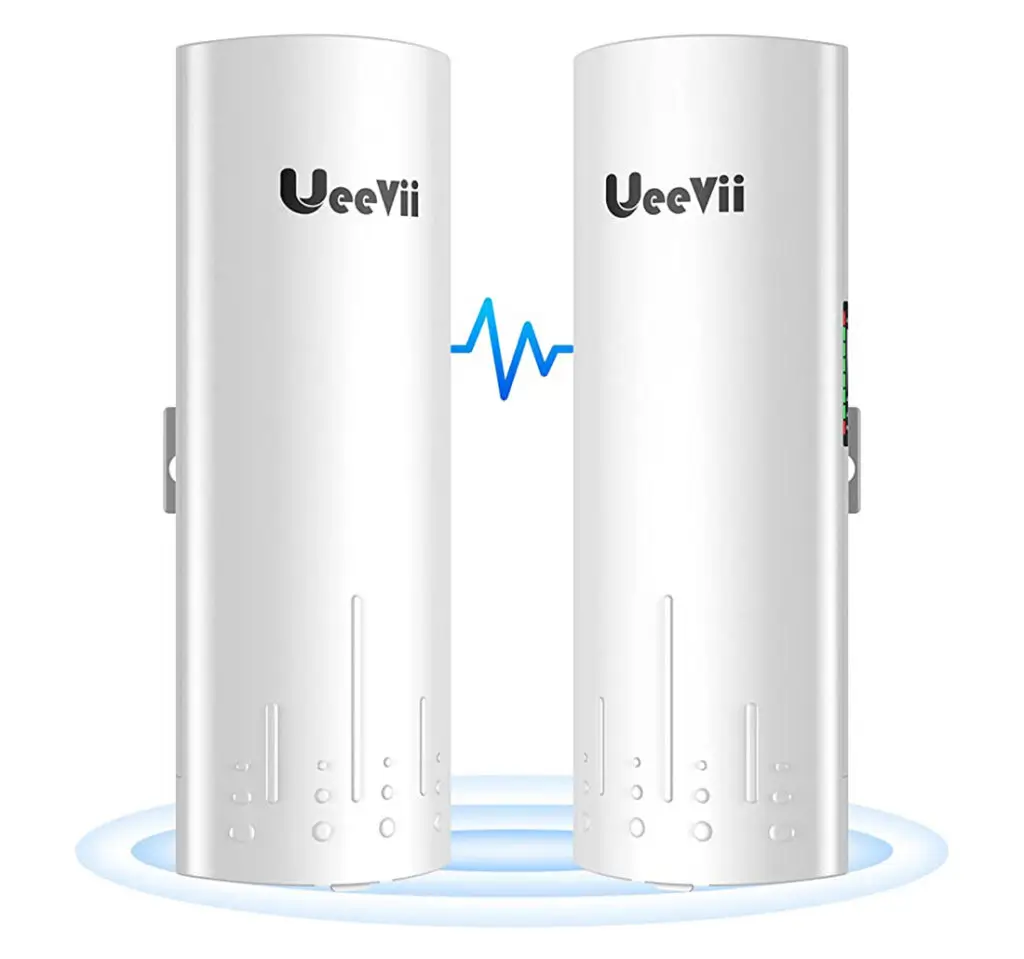
In order to get the best possible results for your connection, it is recommended that you pair the wireless bridge with the digital display. You can connect the two using a dial-up connection. After setting Bridge 1 and Bridge 2 to A and B mode, you can set both bridges to the same number using the reset button.
Once done, you can connect the two bridges automatically without using a computer for the IP settings. The dialing settings can be connected using a point-to-point bridge which does not work for single point- to multi-point connections.Now, before you connect the power supply, you will need to move Bridge 1 to end A through the A-B button.
Bridge 2 shall be moved to end B using the same button. End A is the receiving mode, while End B is the transmitting mode. Bridge 1 and Bridge 2 are set after A and B respectively. Connect the bridge to power. Wait till you see the L sign flashing on the display. This will mean that the configuration is successful.
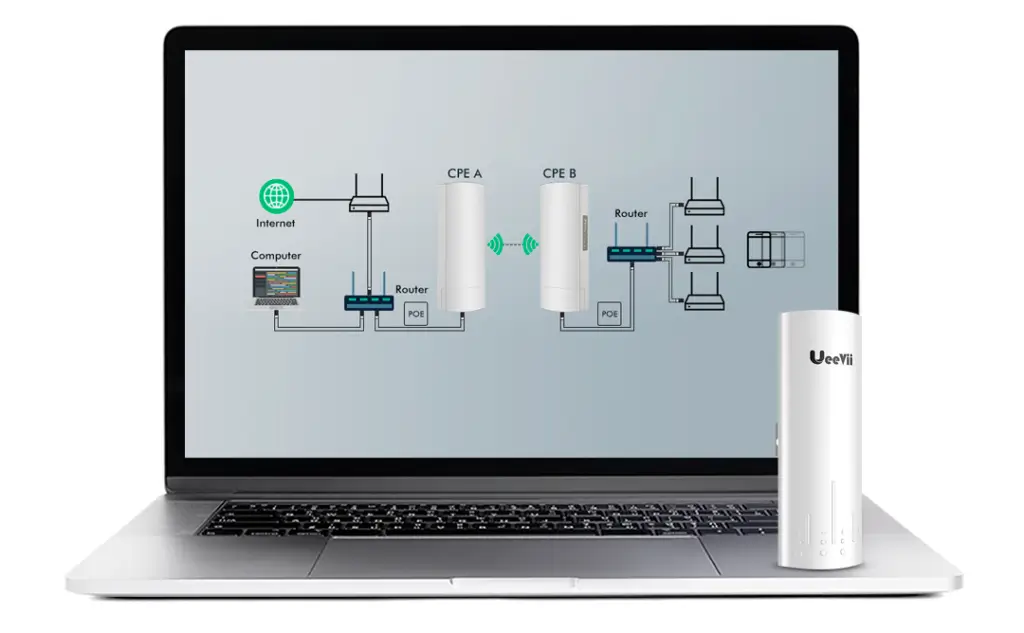
Ueevii CPE450 Setup using your Computer

- Use a PoE adapter to power your wireless bridge. Always ensure that you select the correct ports i.e. the PoE and LAN ports on your PoE Adapter. Also, make sure the power is supplied using the PoE cable instead of a DC power adapter.
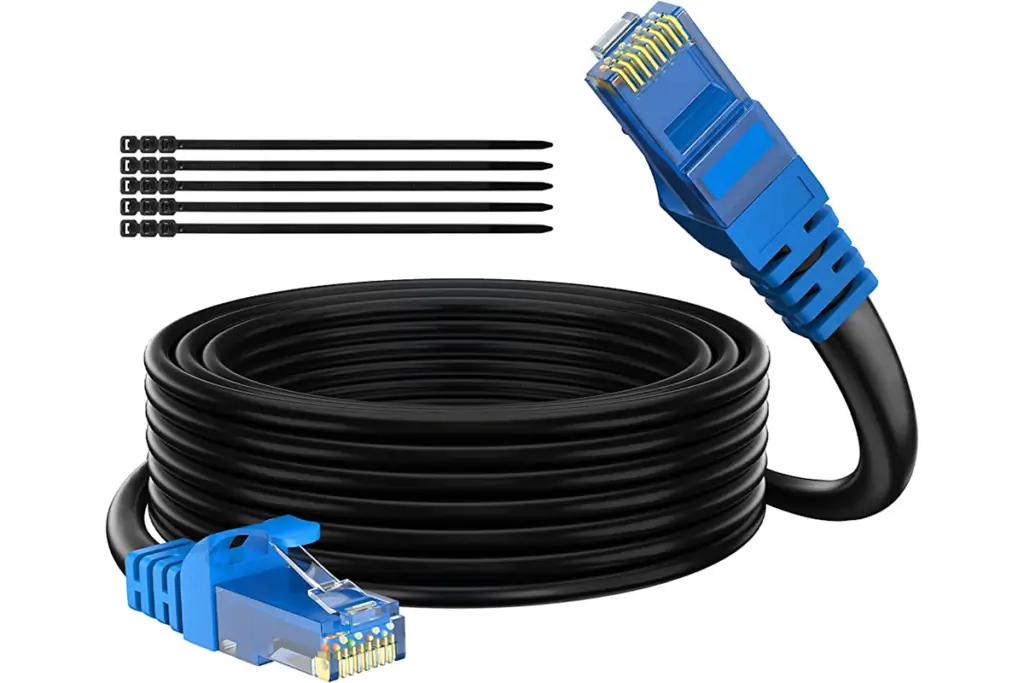
- Use an ethernet cable to connect to your PoE adapter’s LAN port. Connect the other end of the cable to the LAN port of your computer.
- Find the number that is mentioned on your Wireless Bridge CPE Digital Display Tube. If the number on the A Master Bridge says 1, the default IP of your Ueevii CPE450 setup will be 192.168.255.101.
- On the other hand, if the number on the B Master Bridge says 1, the IP address will be 192.168.255.201.
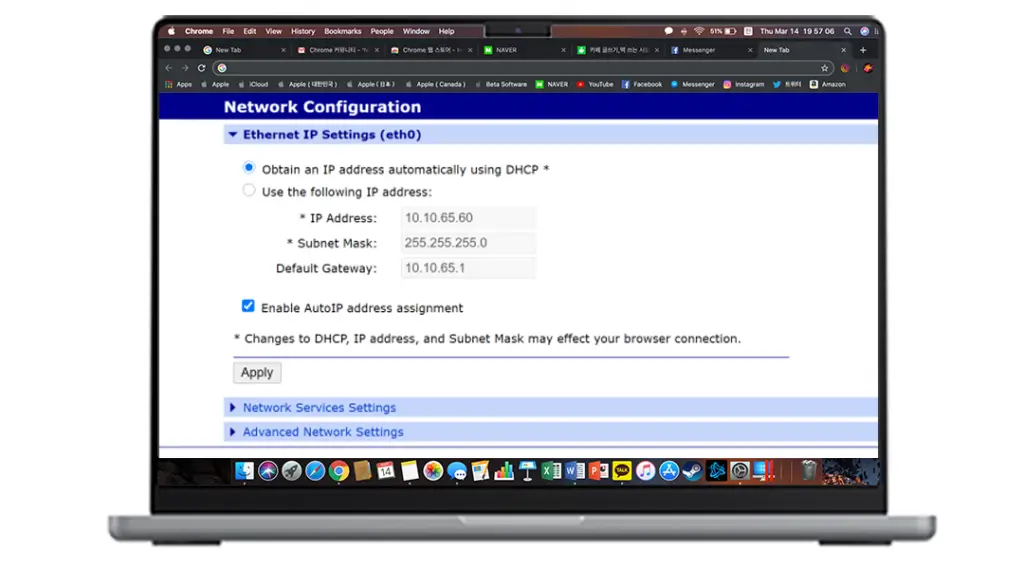
Modifying the IP address details
- You will now need to change your computer’s IP address to 192.168.255.abc (a,b, and c can be any digits of your choice).
- Doing so will bring the Bridge’s IP address and the computer’s IP address on the same network and make access to them easier.
- Once the IP addresses are modified, you can open a web browser and type in the IP address of your wireless bridge to access the default Ueevii CPE240 setup page.
Ueevii CPE450 Setup Steps
- Once you are on the Ueevii login page, you can sign in to the setup wizard using the default credentials. Use admin as both the username and password to access the Ueevii setup wizard.
- You can now configure the Bridge IP address by logging in to your CPE device setup wizard.
- Assign a new IP address to each of your CPE devices that are connected to the same local area network. This helps make network management easier.
- You can also configure your CPE device in the Wireless Receiver Mode. From the main setup wizard, select the Bridge Setting menu and select the A(Master) option under the Mode menu.
- Now, select the Matching ID such that the value of it for the B(Slave) device is the same. Create an easy-to-remember name for your wireless network under the Host-Name field.
- Once you are done editing the settings, click on the Ok button and the settings will take effect.
Your Ueevii CPE450 setup is now configured to the latest settings and you can begin using it with ease.
Troubleshooting issues related to Ueevii CPE450 Setup Process
- Restart your Ueevii Setup and network devices
- Unplug the Ueevii CPE450 setup from the PoE source.
- By unplugging your modem and router from their power sources, you can turn them off (if necessary).
- Plug in the modem and router’s power source after waiting for roughly 30 seconds. Give them time to start up fully.
- Turn on the CPE450 device by plugging it in last.
- Perform a firmware update
- Check the Ueevii setup page on the official website to see if the CPE450 device has any accessible firmware upgrades.
- Download the most recent firmware version if an update is available, then upgrade the device’s firmware by following the Ueevii instructions.
- Updates to the firmware frequently fix issues that are already known to exist and enhance the operation of the device.
- Check for wireless interference
- Look for probable sources of interference, such as other electronic devices or nearby Wi-Fi networks, if the Ueevii CPE450 setup’s wireless connection is giving you trouble.
- Using the CPE450’s or Ueevii CPE240 setup page, switch to a less crowded wifi channel.
- Make sure the CPE450 is situated far from appliances that emit electromagnetic signals, such as cordless phones or microwaves.