One-Stop AT&T WiFi Extender Setup Guide
Get help with the AT&T internet setup process and improve wifi connectivity
Deteriorated wifi coverage can bring down your productivity severely. While you already have access to the WiFi router network, installing a range extender from brands like At&T will help at all times. If you are looking to configure your ATT setup at home, this blog will walk you through all the steps. If you are looking for help with how to setup ATT wifi extender, this blog will walk you through all the steps to complete the same.
How to setup WiFi Extender ATT?
Before we proceed with the process, make sure your primary ATT wifi setup is active and working properly. It’s essential to understand that the extender doesn’t replace your router. It’s a booster. To start the process of att smart wifi extender setup, you’ll need:
- An active internet connection via AT&T
- Your AT&T WiFi Gateway/Router
- The AT&T Smart WiFi Extender
- Your WiFi Network Name (SSID) and Password
- Access to att.com/wifiextender (in case this is required for activation)
With all this ready, the process is quite simple.
Requirements for the ATT WiFi Setup
Whether it be an att internet setup, an att air setup, or an expansion, preparation is the key. Here are some things you will require:
- A stable internet connection
- Your main AT&T gateway device needs to be connected to the internet.
- Also, ensure that your att account setup is complete, as you might need the information for the login credentials later on. If you are setting up a new smartphone while conducting the att phone setup, it should be compatible with WiFi 5 or WiFi 6 for the best results.
How to login to the extender setup wizard?
Plug the extender in a location halfway between the router and the area with the poor signal. Too far from the router, and it will not receive a strong enough signal to amplify. Too close, and it defeats the purpose.
In most cases, AT&T Smart WiFi Extenders automatically pair. However, if you need to manually configure the pairing process, you can follow these steps:
- Connect your computer or mobile device to the AT&T WiFi network.
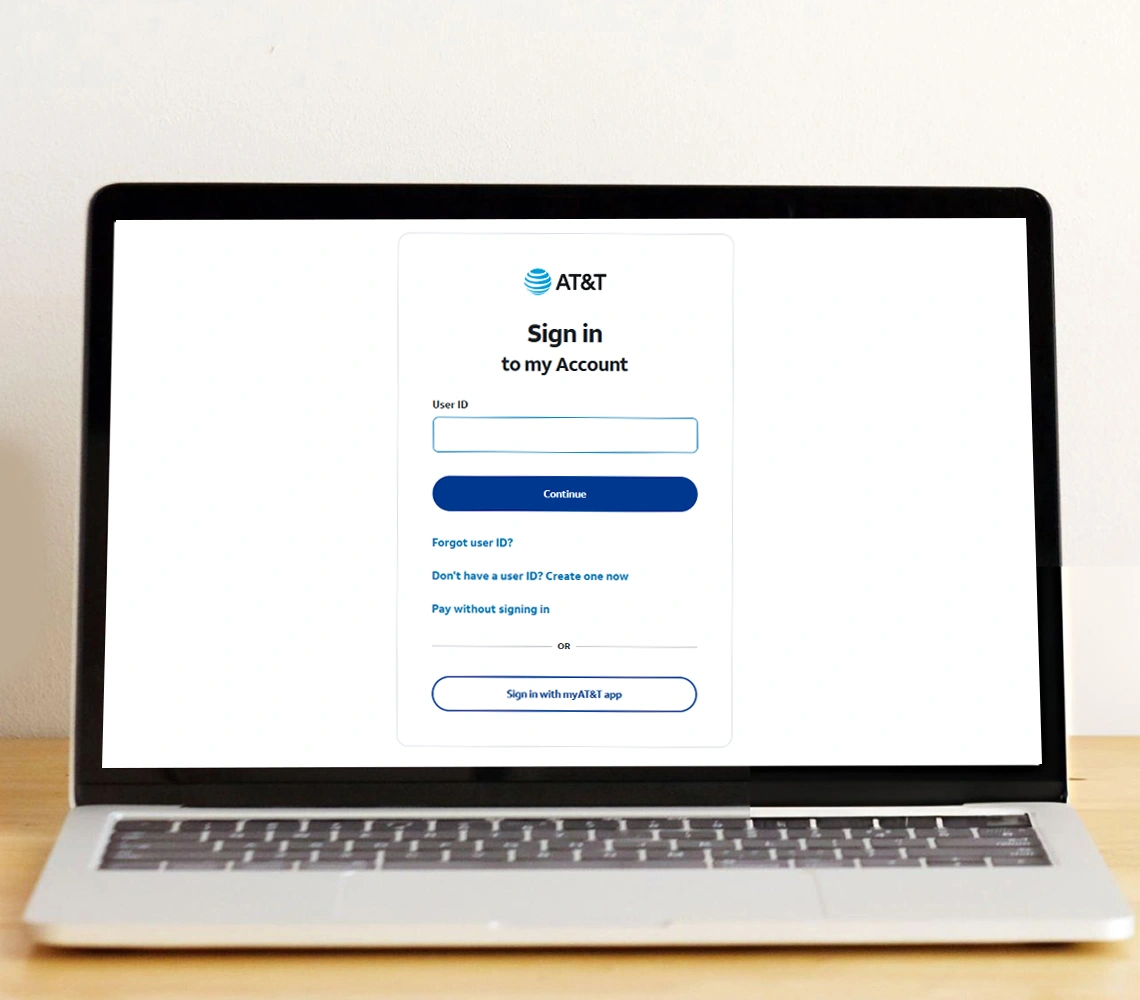
- Launch the web browser on your connected device and go to att.com/wifiextender URL.
- Enter your AT&T account credentials. This completes the att account setup process if not already done.
- Follow the instructions provided on the screen to pair and activate the extender.
If prompted, you will need to confirm the network details to complete the att wifi extender setup process.
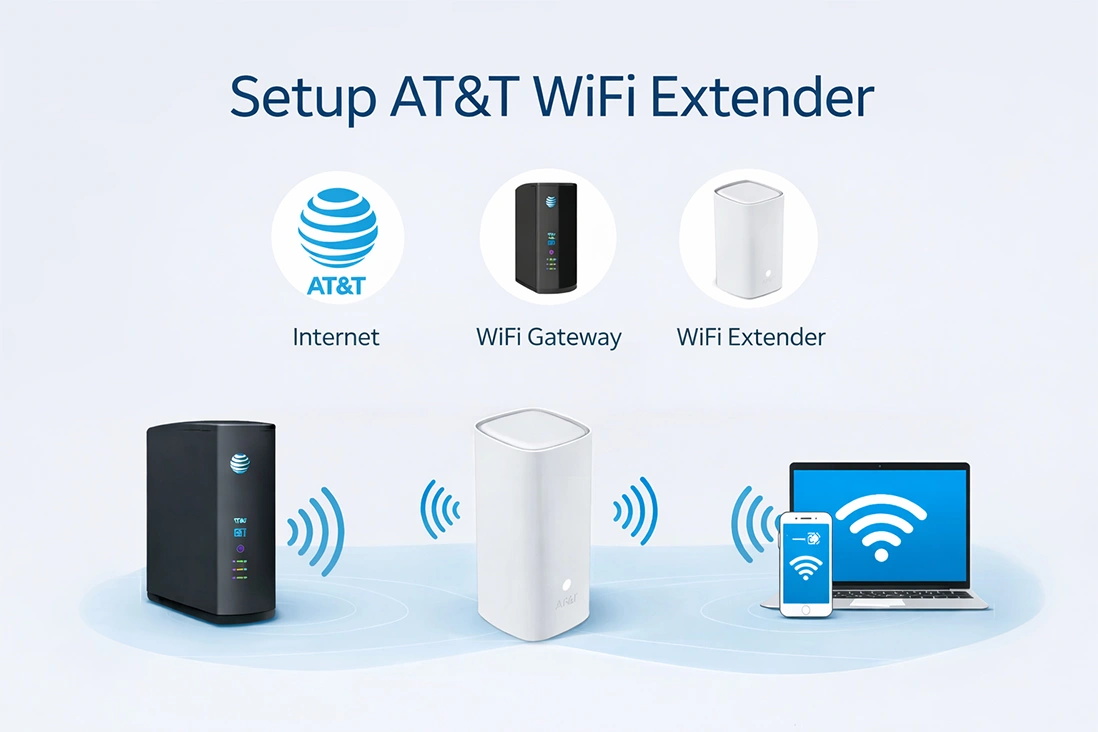
AT&T WiFi Extender Setup Process
Once you are logged in to the setup wizard, you can follow the detailed steps to configure your ATT extender device. Here are some you can follow:
- Insert your att wifi extender device into a power outlet close to your AT&T gateway/router.
- The device will boot up, and the LED will begin blinking while searching for the network.
- Press the WPS button on your AT&T gateway/router. Within two minutes, press the button on the extender device. This will initiate the att smart wifi extender setup.
- The device will be connected, and the LED will turn green, indicating that the att wifi setup extension has been successfully completed.
- Position the device at a point that needs improvement. Plug it in again and check that the signal is stable.
- That’s it! No technical expertise is required for the att wifi extender setup. No engineering degree is needed!
There might be a need to make some extra changes to your att setup:
- Updating the firmware using the AT&T Smart Home Manager
- Configuring parental controls
- Making changes to the security settings
- Setting up a secure att vpn setup for remote working
If you work from home, a stable extender connection combined with a good att vpn setup can help you access office networks securely.
Troubleshooting Issues with the ATT wifi extender Setup
Of course, the smoothest att wifi extender setup experience is not immune to a small hitch every now and then. Technology is trustworthy and until it chooses to test your patience for a little while. The good news is that any potential hitch is quite easy to fix if you follow a systematic approach to solve it. If your how to setup att wifi extender experience was not as smooth as you had hoped, here is how you can fix it correctly.
1. ATT extender not connecting
- If your extender is not connecting at all, the first thing you need to check is if your main router is working properly. Your extender is totally dependent on your main router att wifi setup. If your main router is not working properly, the extender is not going to work for you. First, check if your internet is working properly.
- Once you have confirmed that, you should power-cycle both devices. To do that, unplug your router and your extender, and then, after 60 seconds or so, plug your router back in.
- Once you have done that, you should then repeat the WPS pairing process.
- The main reason for a failed connection is that the WPS button has not been pressed within a 2-minute window.
2. Extender connected but internet slow
If the extender is connected but you are still getting weak signals, the probable cause is the placement. The extender must not be placed at the edge of the coverage area. It needs a strong signal from the router so it can rebroadcast the signal. Move the att wifi extender closer to the gateway. It is best if it is placed halfway. Also, it should be avoided near thick walls, metal, mirrors, microwaves, and large appliances. This is because physical obstructions will weaken the signal. Yes, putting it inside a cabinet or behind furniture will definitely weaken the signal. Space, as mentioned, is your friend.
3. No Internet from the Extender
In instances where the internet completely stops working after the setup, the first step is to ensure that the main att internet setup is active and that there is no service outage. Once this is confirmed, the user should log in to the att.com/wifiextender to check the status of the device.
4. ATT Extender Offline and No Light
If the extender seems offline or unstable, a soft reset might fix the problem. To do a soft reset, press and hold the reset button for 10 seconds, or until the LED light changes, and then let it reboot before you try to connect again.
5. Unable to connect to the network
In other cases, however, the problem may not be the extender itself, but the device attempting to connect to it. If, for example, you have recently finished an att setup new phone or any other kind of att phone setup, there is a chance that your phone is simply holding on to old information. In this case, simply open your WiFi settings, select the current network, and click “forget network,” after which you can reconnect to the internet with the new password.
6. RESET your ATT Extender
If you have attempted all these and still, the condition is not improving, then it is time for a factory reset. This is like a clean slate for your extender, and you get a chance to begin the process again from scratch.
- In order to carry out a factory reset, the reset button on the extender should be pressed and held for a period of 10 to 15 seconds.
- It should be pressed until the light starts to blink.
- Once this process starts, release the reset button.
- It should be given some time to reboot completely.
- After this process, the entire process of att wifi extender setup should be carried out again.
A complete reset might sound like a dramatic measure, but sometimes a network really does need a complete reset. No lingering glitches. No partially configured settings. Just a brand-new setup, done the way it should have been done from the very beginning.
Need more help with the ATT WiFi Extender Setup process? Get in touch with the team at our end now!
Frequently Asked Question for AT&T WiFi Extender
Q1. How do I complete AT&T WiFi extender setup?
A: To set up your AT&T Wi-Fi Extender, you can use the recommended method of using the AT&T Smart Home Manager app or the alternative method of pressing the WPS button on the device and the gateway. After setting up the device, place it in a central position by moving it away from the gateway and towards a central position while checking the best position via the app.
Q2. What is att.com/wifiextender used for?
A: The URL is used to access the wifi extender’s setup wizard online. The extender helps to eliminate dead spots in your house with its mesh network feature. The Wi-Fi signal strength of your router or your Wi-Fi Gateway can be reduced by distance and certain materials.
Q3. Can I use the extender during att air setup?
A: Yes, you can use an AT&T Smart Wi-Fi Extender, such as the AT&T Smart Wi-Fi Extender by AirTies 4971 or 4920, during or after your AT&T Internet Air setup. For optimal performance, first, you should finish the setup of your 5G Gateway/All-Fi Hub through the Smart Home Manager app, and then connect the extender using WPS or Ethernet cable, placing it within three feet of the gateway during pairing.
Q4. Does the extender change my WiFi name?
A: The WiFi extender can retain your original network name (SSID) or provide a new network name, depending on the settings. Most WiFi extenders, however, come with settings that provide a new network name, which might be your original network name with “_EXT” appended, requiring you to disconnect from your original network and connect to the extender’s network. In some cases, the extender can be configured to provide the same network name as your router for seamless, though less efficient, roaming.
Q5. Is att vpn setup required for extender installation?
A: No, it is not necessary for the setup of an AT&T VPN to have an AT&T VPN setup for the installation of an AT&T Wi-Fi extender. The installation process for an AT&T Wi-Fi extender requires that you connect it with your existing AT&T gateway.