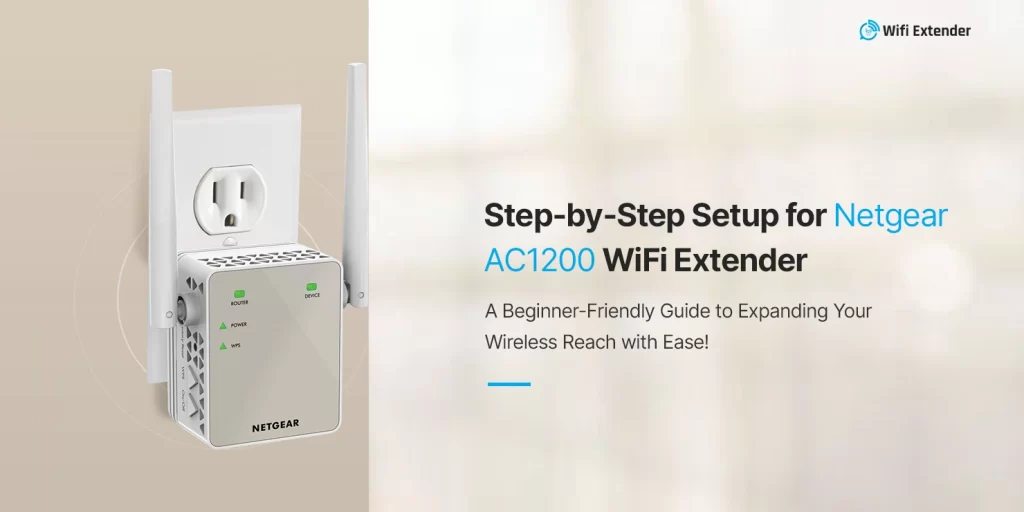
Are you looking to set up a lightning-fast internet connection at home? Then, opt for the Netgear AC1200 WiFi Range Extender Setup to enjoy ultra-high speeds in no time. Netgear is a leading brand with multiple networking devices, transforming home networking at your fingertips. However, these devices support dual-band wifi technology and can accommodate both 2.4 GHz and 5 GHz network bands. If you want to enjoy these networking benefits, then you must understand the extender setup first. This guide explains to you all you need to know about this setup process. Let’s walk through this guide!
How To Setup A Netgear AC1200 WiFi Range Extender in Different Ways?
Generally, there are three ways to set up the Netgear AC1200 range extender, i.e., via the web browser, WPS button, and using the Nighthawk app. However, the web GUI method is the most preferred method, and the WPS button helps with easy wifi connections. Therefore, this section outlines the step-by-step instructions to configure your extender using these methods:
Netgear AC1200 WiFi Range Extender Setup Via the WPS Button
- Initially, ensure that your networking device is powered on.
- Then, plug your range extender near the Wi-Fi router.
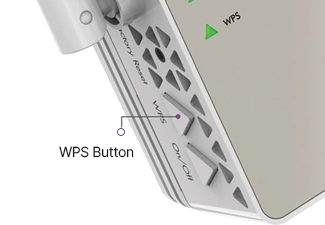
- Now, find the WPS button on your range extender and wifi router.
- After that, press and hold this button on the extender until the WPS LED on the extender blinks.
- Press the WPS button on your wifi router within 2 minutes.
- Wait till you see the WPS LED on the extender show solid green.
- Now, check the router’s LED and wait for the lights to turn on.
- Finally, the WPS connection between your range extender and existing router is established.
- Eventually, the Netgear AC1200 WiFi Range Extender Setup is finished.
Netgear AC1200 WiFi Range Extender Installation Procedure!

- To begin with, plug your range extender into an electrical outlet.
- Further, plug in your range booster near the wifi router.
- Now, connect your computer to the extender’s default network.
- After that, launch any web browser and enter the mywifiext.net web address.
- Instead, you can also use the 192.168.1.250 IP address.
- Then, the Netgear AC1200 WiFi Range Extender Installation page appears.
- Hereon, follow the on-screen prompts to connect your extender to the existing wifi network.
How To Setup A Netgear AC1200 WiFi Range Extender Via Web Portal?
- Now, unplug your range extender and move it to a new location halfway between your router and the dead spots.
- Then, plug your range extender into an electrical outlet and wait for the power LED to light.
- After that, log in to your admin account using valid credentials.
- Now, you reach the setup wizard of the Netgear repeater.
- Hereon, tap on the ‘Smart Setup’ button and follow the on-screen prompts.
- Navigate to the Menu>Settings>Wireless, and the WiFi Settings page appears.
- Next, customize your wifi name and password in the corresponding fields.
- Finally, tap ‘Save’ to apply all the settings.
- Similarly, you can set up other settings on your range extender.
In Closing
Overall, this detailed guide has provided relevant insights regarding the Netgear AC1200 WiFi Range Extender Setup process. Additionally, you have also reviewed the quick steps to install your range extender seamlessly. Now, you have learned the quickest ways to set up and configure your range extender within minutes.