The D-Link WiFi extender is another excellent networking device. This device offers seamless WiFi coverage with a high-quality internet connection. With the help of this remarkable device, you can get rid of dead zones and experience good WiFi signals all over the house. You just need to proceed with the Dlink WiFi extender setup. For the extender to function effectively, you must execute the Dlink extender setup accurately. Thus, you must know the complete procedure to set up the D-Link extender properly.
You can execute the Dlink extender setup with the help of the proper assistance. That’s why we have brought you this post to help users with the setup. We are here with this post to help users with the setup and the Dlink login. You can also find the Dlinkap.local not working issue you could face with the setup. Then, we’ll explain the troubleshooting methods to fix the issues.
Necessities for the Dlink WiFi Extender Setup
To proceed with the setup, there are some things that you require. With these things, you can set up the extender correctly. These things are as follows:
- The D-Link WiFi app
- An Ethernet cable
- The IP address
- A web browser
- The default login credentials
- Your smartphone or PC
You can set up the extender simply with the help of these things. Now, we will go over the methods you can use to fix the issues.
Steps for the Dlink Extender Setup
You can set up the extender via two methods. The first one is by executing the Dlink login to the user interface. Or you can set up the extender using the WPS button. For the former method, you can use the dlinkap.local address and login details to log in. You can log into the user interface through the D-Link app as well. Whereas, to set it up via the WPS button, ensure your router supports this feature. The steps for both methods are as follows:
Dlink WiFi Extender Setup Via the User Interface
- Initially, place the extender and the router in the same room. Ensure to power them on by plugging them into a stable power source.
- connect your device to the extender’s network. You can use an Ethernet cable to connect your PC to the router’s network.
- On that device, open a web browser of your choice. Now, in the address bar of the browser, enter the Dlinkap.local address.
- Hereon, the login page of the extender will appear on the screen. You can enter the default login credentials in the given fields.
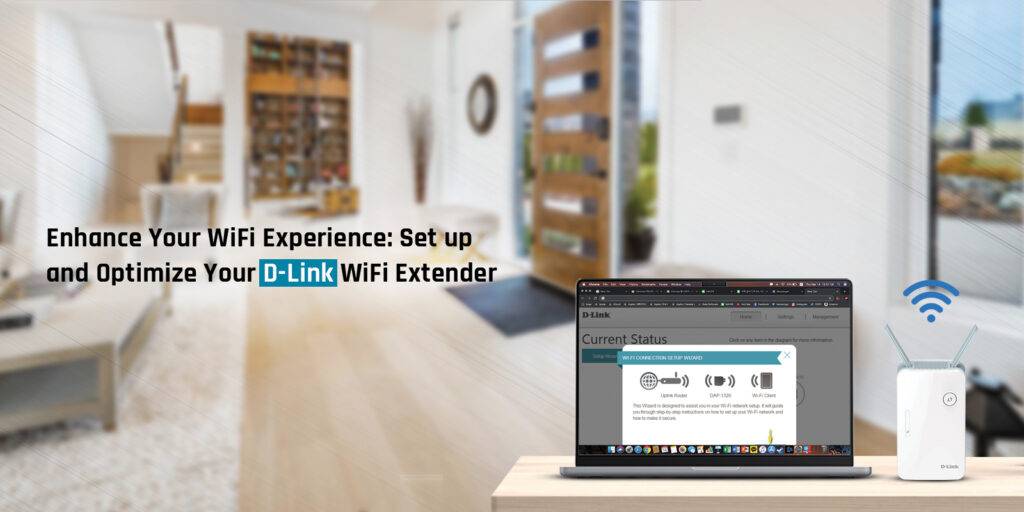
- When the user interface appears, you can begin with the Dlink extender setup. Choose the Setup Wizard option from the home screen.
- The wizard will ask you if you want to set up the extender manually or via WPS. You need to select the second option here.
- After that, the extender will scan for all the available networks near the extender. You can select your WiFi network and enter the correct password.
- Give the extender some time to form a connection with the router successfully. Once the connection is successful, you can configure the settings of the extender correctly.
- At last, save the settings you modified and the user interface will show you a summary of the settings. Then, you will see a green check mark indicating the setup is successful.
Dlink WiFi Extender Setup
- To begin with, keep the extender and the router in the same room and power them on.
- Now, press the WPS button on the router for 2 seconds.
- Within 2 minutes, press the WPS button on the extender.
- The WPS LED should blink green light indicating the extender is trying to connect.
- When the extender forms a connection with the router, the green light should stabilize.
- Ultimately, you can relocate the extender and place it near the dead zone.
These are the methods you can use for the Dlink extender setup. You can execute the Dlink login using the dlinkap.local address as well. Once the setup is complete you can relocate the extender and connect your devices to it. However, if you are facing the dlinkap.local not working issue, keep reading ahead.
How to Fix the Dlinkap.local Not Working Issue?
When the login address isn’t working, you must fix it. Without logging into the user interface, you can’t configure the settings correctly. There are several reasons responsible for the dlinkap.local not working. You can try the following methods to fix the issues:
Connect to the Extender
- You must connect your device through which you are logging in to the extender.
- Without a connection with the extender, you cannot log into the user interface.
- So, ensure to connect your device to the extender to log in successfully.
- You can connect your smartphone to the extender from the WiFi settings.
- Whereas, you require an Ethernet cable to connect your PC to the extender.
- Now the Dlinkap.local not working issue should be gone.
Use the Correct Login Credentials
- To execute the dlink login, you must use the correct username and password.
- You cannot log into the web interface if you use the incorrect login details.
- The correct login credentials are available on the extender only.
- However, if you changed and forgot them, you must execute the Dlink extender reset.
- The reset will restore the default credentials and you can log in using them.
Fix the Web Browser Issues
- There could be issues within the web browser as well causing the issues.
- You can erase the browser cache and remove cookies before the login.
- Also, disable any firewall or ad-blocked from the browser, as it can cause issues.
- Check if the web browser requires an update and update it accordingly.
- If the issue persists, you must use another web browser for the Dlink login.
Dlink Extender Reset
- You can proceed with the reset when none of these methods aren’t working.
- To reset the extender, locate the reset button on the extender.
- Now, press the reset button and hold it using a sharp object.
- After 10 seconds, you can release the reset button.
- This should restore all the factory default settings.
- Now, you can try again with the Dlink extender setup.
These are some methods you can use to fix the Dlinkap.local not working. Now, you should be able to proceed with the Dlink login and the Dlink WiFi extender setup successfully. If there are any other issues you are having with your extender, you can reach out to our team right now.
FAQs
If your D-Link extender is unable to connect to the router, there could be an issue. Check the power source of both devices. They should both be powered on to connect successfully. Otherwise, you must plug them into another power source. Also, ensure they are nearby for the setup. If not, they can have trouble forming a connection.
There are two methods you can use to connect the extender to the router. You can either log into the user interface or use the WPS button. For the former method, you require the dlinkap.local and the login credentials to log in. whereas, for the other method, ensure your router also supports the WPS feature.
To connect your Dlink extender to the router without WPS, you need to log into the user interface. For the login, you can use the dlinkap.local address to access the login page. After that, you can use the default login credentials to log into the extender. Once you are logged in, you can select the setup wizard and set up the device correctly.
The default password for the Dlink WiFi extender is blank. You need to leave the password field blank to log into the WiFi extender. You can find the default login credentials on the extender and the manual. The default credentials might differ so ensure to consult the extender’s label and manual. Thus, ensure to change the login credentials of the extender. Otherwise, anyone can log in using the default login details.